Designing a brewery isn’t about drawing pretty pictures. You’re coordinating grain, heat, time, and people. Whether you’re setting up a tiny nano brewery or turning an old warehouse into a 2,000-hectoliter-per-year operation, the real questions are the same. How do you keep things clean, safe, and repeatable? And how do you make sure you can grow without ripping everything out later?
This guide walks through capacity planning, layout, equipment, controls, sanitation, utilities, packaging, and startup. No fluff. Just what actually works.
1. Capacity Planning: Matching Brewhouse, Fermenters, and Chillers
Don’t start with the kettle size. Start with how much beer you want to make in a year, and how many batches you can realistically run in a week.
Brewhouse example
Say you have a 10 hL brewhouse (that’s hot wort per batch). A typical brew cycle – mash, lauter, boil, whirlpool, knockout – takes five to six hours. Run two shifts and you can do three batches a day. That’s 30 hL daily. If you brew 220 days a year (accounting for cleaning, changeovers, and breakdowns), you’re looking at roughly 6,600 hL per year.
Fermenter sizing
A lager needs 14 to 21 days from pitch to crash. An ale is faster – seven to 14 days. If you mostly brew lager, you need enough tank space to hold 14 days of production.
Here’s a rough formula:
Total fermenter volume (hL) = daily output × fermentation days × 1.1 (safety factor)
In our example: 30 hL/day × 14 days × 1.1 = 462 hL. So you’d install around 500 hL of fermenter capacity. That might mean six 80 hL tanks.
Chiller (glycol) sizing
You’ve got two main cooling loads.
First, wort cooling. You’re taking 95°C wort down to 12°C (for lager) right after the boil. That’s a big spike. A plate heat exchanger with two stages works well: city/well water or cooling tower first, then chilled water (1–2°C), then glycol at –4°C.
Second, fermentation cooling. A lager at peak fermentation throws off about 2.5 to 3.5 kW per 100 hL. With decent tank insulation, you can size your chiller pack for maybe 60–80% of the total theoretical load – not everything peaks at the same time.
Also, don’t skip the glycol buffer tank. It should hold at least 1.5 times your total system volume. Use variable-speed pumps and zone control valves. Otherwise one tank can starve another.
Practical rule: size the chiller for the single biggest instantaneous load (wort cooling) plus the peak fermentation load at that same moment – then add 25% margin. You’ll thank yourself on a hot July day.
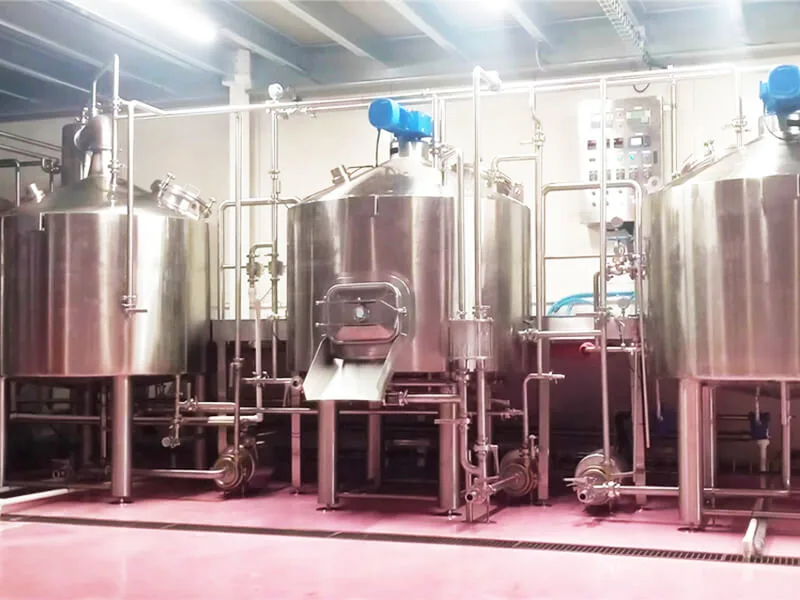
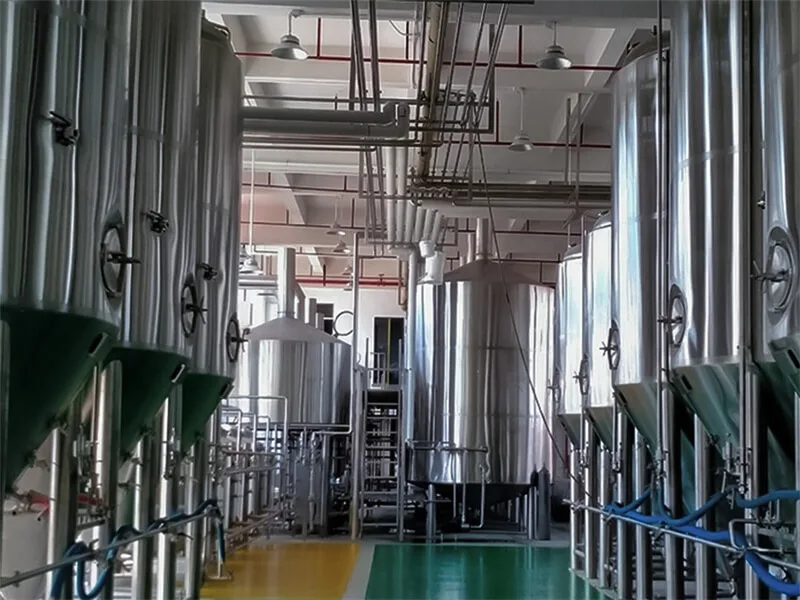
2. Layout: The Physical Foundation for Clean, Safe Brewing
Keep zones separate. Keep people and materials moving one way. And for God’s sake, slope your floors toward the drains.
Raw materials
Put them in a separate room with dust control. Put it close to the grist case or mill. Use a pneumatic conveyor or a short auger – you don’t want dust drifting into the brewhouse.
Hot side (brewhouse)
Heat-resistant, non-slip floors. Big exhaust hoods over the kettles. Leave at least 1.2 meters (about four feet) of working space around the lauter tun and kettle – you’ll need it for maintenance.
Cold side (fermenters, bright beer tanks)
Separate this from the hot side with a solid wall or a buffer room. No extra heat and condensation wandering over. Run pipes overhead in well-insulated bundles, and put drip trays at the low points.
패키징
Stick this at one end of the building or in its own room. Floors should slope at least 2% toward channel drains.
Sanitary details that actually matter
- Every floor drain needs a water seal and a removable strainer basket.
- Don’t let a drain line cross from a dirty area into a clean area. Use thresholds or ramps between zones.
- Walls? Tile or stainless steel sheeting with coved corners – no right angles where crud can hide.
Small breweries often line tanks along a wall with pipes overhead. Large breweries go vertical: hot side on lower floors, cold side above. Gravity does the work, and you use fewer pumps.
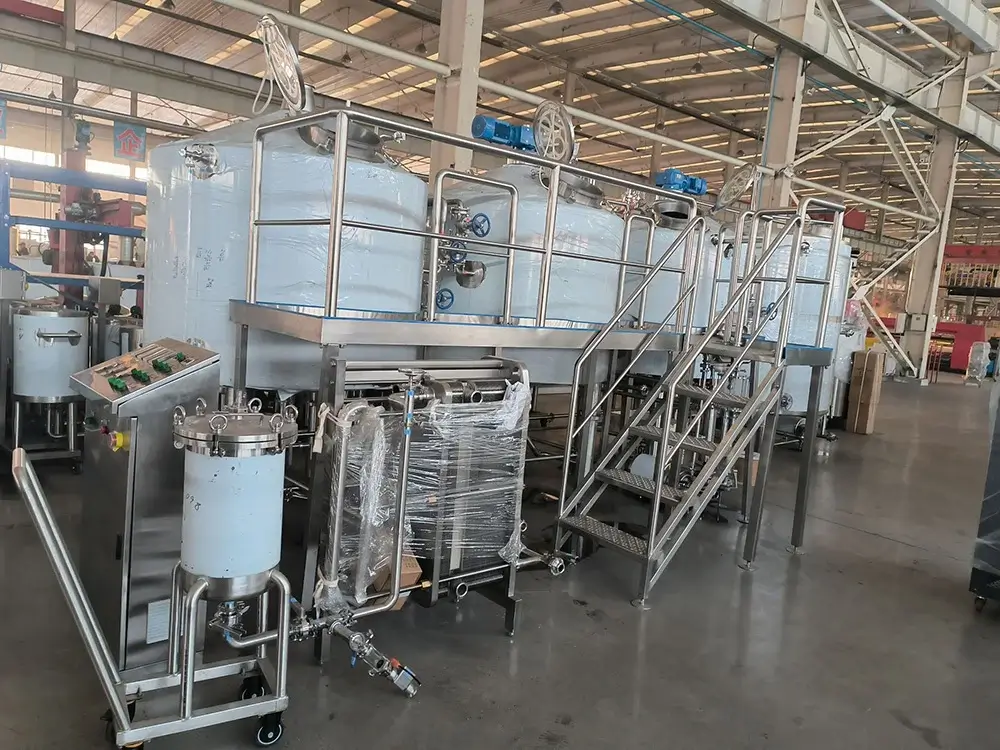
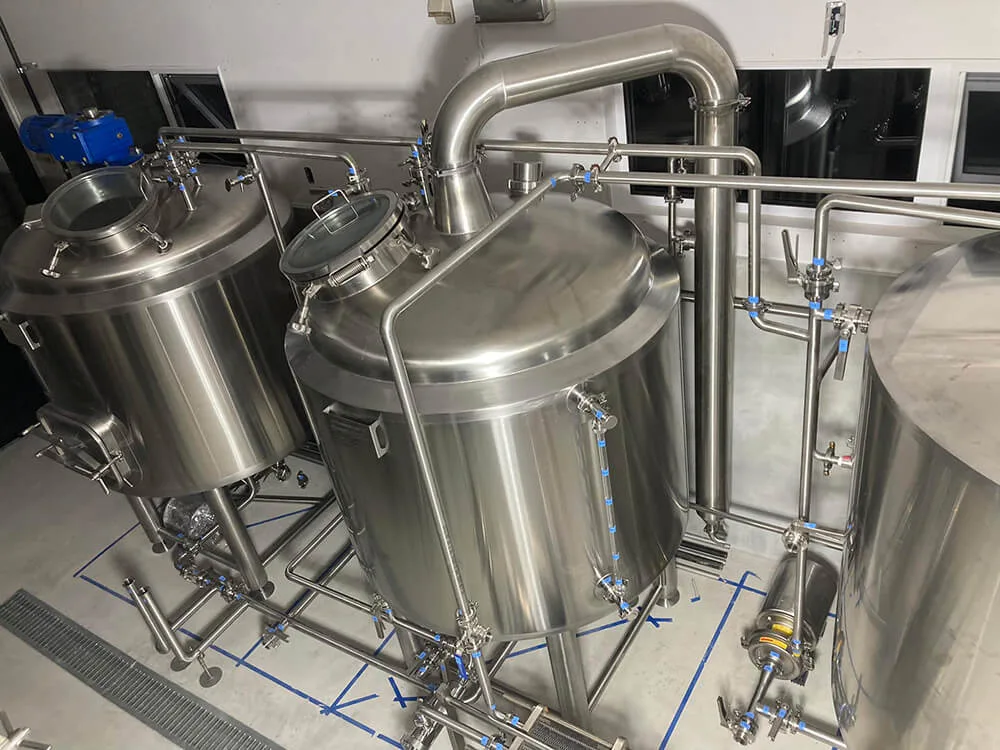
3. Choosing a Brewhouse for Scalability
A full brewhouse has a mash mixer, lauter tun, kettle, and whirlpool. But some people combine functions to save space and money.
Here’s the trade-off:
- 2-vessel (mash/lauter + kettle/whirlpool) – small footprint, lower cost. Good for pubs and anyone making less than 500 hL/year.
- 3-vessel (mash, lauter, kettle/whirlpool) – good flexibility, you can run steps in parallel. Works for 1,000 to 5,000 hL/year.
- 4-vessel (separate mash and cereal cookers) – handles adjuncts like rice or corn. That’s for large industrial or specialty breweries.
For the lauter tun, traditional slotted plates work fine for most craft breweries. If you use a lot of wheat or oats, a mash filter gives better efficiency – but you’ll need a spent grain handling system to go with it.
Smart sizing rule: design for 30% more capacity than you think you need today. That could mean buying a kettle with extra ports, or a plate heat exchanger that’s sized for a bigger batch later.
4. Automation and Controls for Consistent Quality
Manual brewing works fine until you try to scale up. Then you need repeatability.
A typical control system has three layers:
- Field devices: temperature sensors (PT100), pressure and level transmitters, conductivity probes for CIP, flow meters (magnetic or Coriolis).
- Control layer: a PLC – something like a Siemens S7-1200 or 1500. Redundant power supplies for critical loops are nice to have.
- Operator layer: SCADA. You want recipe management, batch traceability, alarms, and trend logs.
What you really need to automate:
- Mash temperature steps – dough-in, protein rest, saccharification, mash-out, sparge.
- Boil intensity – steam valve position linked to pressure.
- Knockout temperature and oxygenation – closed-loop control.
- Fermenter temperature staging – main ferment, diacetyl rest, crash cooling – with automated valve switching.
Worth spending extra on
- A dedicated glycol control valve for each fermenter, and three temperature probes per tank (top, middle, bottom).
- Bright beer tank pressure control (0.8 to 1.2 bar) with CO₂ backpressure.
If money’s tight, you can skip full batch automation for now. But leave 20% spare I/O on the PLC and open network ports for future upgrades. You’ll want them later.
5. Sanitary Piping, Valves, and CIP – The Hidden Defense
Beer is a lousy place for bacteria to grow – but they’ll find a way if you give them a dead leg.
Piping design
- Inside surface finish: Ra ≤0.8 μm (that’s about 32 microinches). Use autogenous orbital welding wherever you can. No threaded fittings – ever.
- Slope every line at least 1% toward a low-point drain.
- Use long-radius bends (R=1.5D). For tees, use sweep tees or Y-branches. Regular right-angle tees are a trap.
밸브
- Tank bottom valves: aseptic diaphragm or sanitary angle-seat valves. Flow should go straight down.
- Transfer panels: mix-proof butterfly or double-seat valves – separate seals for product and CIP.
- Sample valves: miniature diaphragm type. Steam-sterilize before and after you draw a sample.
CIP design principles
- Have two CIP return pumps – one duty, one standby.
- Keep separate tanks for caustic, acid, hot water, and sanitizer (PAA is common).
- Every process line must be able to form a closed cleaning loop: supply → sprayball → return.
- Fermenter CIP sequence: pre-rinse → caustic → intermediate rinse → acid → final rinse → sanitize (hot water or PAA). Use rotating sprayballs.
- The CIP return line needs conductivity and pH sensors so you know when the rinse is done and you can recover chemicals.
6. Glycol, Temperature Control, and Utilities Integration
Utilities aren’t just “plug in electricity and steam.” You have to handle peak loads without crashing the whole system.
Glycol system
- 25–35% glycol by volume. Setpoint at –4°C.
- Put a pressure stabilizer tank at the circulation pump discharge. Balance valves on every branch.
- Insulate all cold pipes – fully. Then cover the insulation with stainless or aluminum cladding so condensation doesn’t drip everywhere.
Cooling water system
- Primary side of your plate heat exchanger: cooling tower water. (Know your local wet-bulb temperature in summer – it matters.)
- Secondary side: a chilled water tank at 2°C or below.
- Small breweries sometimes combine chilled water and glycol into one skid. That’s fine – but keep the piping separate. Never let glycol get into your wort.
Steam and compressed air
- Size your steam generator for peak brewhouse demand plus 30%. Install steam traps at every drip leg and heat exchanger outlet.
- Compressed air: refrigerated dryer plus three stages of filtration – particulate, oil, sterile. And put a sterile filter just before any air point that touches beer or yeast.
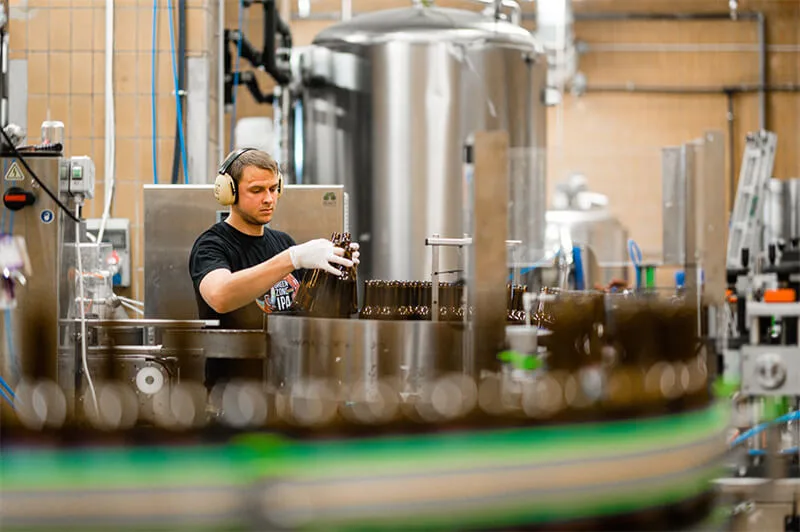
7. Packaging System Choice and Material Flow
Your packaging setup will decide how materials move through the building. Most craft breweries end up with either kegs, or cans, or both.
Keg line
A keg washer (two or three stations) → counter-pressure filler → labeler/coder. This works fine up to maybe 300–500 kegs a day. Low investment, flexible.
Can line
Depalletizer → rinser → filler/seamer (counter-pressure or flow-meter) → tunnel pasteurizer → labeler/sleever → packer. Minimum economic scale is roughly 3,000 to 5,000 cans per hour.
Material flow
- Run finished beer from the bright beer tank to the filler by the shortest route possible – fewest bends wins.
- Keep the washer/rinser area isolated. That drain water should go straight to floor drains, not through clean areas.
- Empty cans, cartons, and pallets come in one end. Finished pallets go out the other. No crossing.
8. Microbrewery vs. Large Scale: What Changes?
Here’s a quick comparison:
- Layout – Micro: compact, multi-use spaces. Large: separate buildings or floors, automated material handling.
- 컨트롤 – Micro: semi-auto plus handwritten logs. Large: full BATCH control with MES.
- CIP – Micro: portable CIP cart, manual hoses. Large: fixed piping, automatic valve groups.
- 패키징 – Micro: manual keg washer, single-head filler. Large: high-speed line with online inspection (fill level, seam, label).
- Staffing – Micro: everyone wears multiple hats – brew, pack, fix. Large: dedicated engineers, operators, QC.
But – and this is important – sanitary standards don’t shrink. Microbreweries often have higher infection rates because people overlook dead legs, leave hoses on the floor, and get sloppy with sampling.
9. Building Around an Existing Facility: Fabrication, Drains, Ventilation
So you’ve got an old warehouse. Four-meter ceilings, no drains, stale air. Here’s what you do, in order:
- Floor and drains – Break out the old slab. Pour a new one sloped at least 2% toward a new main channel drain. Make the drain about 30 cm wide and 15–20 cm deep. Cover it with stainless steel grating. Add secondary drains at the base of each tank.
- Ventilation – Stainless exhaust hoods over the brewhouse with axial fans. Shoot for 20 air changes per hour minimum. On the cold side, keep a slight positive pressure with filtered supply air – G4 plus F7 filters.
- Equipment placement – Rig the fermenters in first. Then run the pipework. Then add insulation and stainless cladding. Leave a 60 cm wide pipe alley so someone can actually get in there to fix things.
- Power and controls – Put the main electrical panel somewhere dry and away from wash-down areas. Local control stations need at least IP65 rating.
Most common mistake: installing tanks before cutting drains. Then the low point ends up in the wrong place, water pools, and it stinks.
10. Commissioning, Ramping Up, and Minimizing Downtime
From mechanical completion to full production, you’ll go through four phases:
- Single-component testing – motor rotations, pump seals, valve positions.
- Cold integrated testing – run with water. Check for leaks, verify sensor signals, run CIP cycles.
- Hot/process testing – simulate brewing with water. Measure evaporation rate, cooling time, glycol load.
- Trial batches – first three to five full batches. Lab analysis and microbiology. This is when you’re most likely to have downtime – so have your spare parts kit, pump rebuild kits, and a backup generator ready.
Ways to reduce downtime
- Dual water and steam feeds – or at least quick-change bypasses.
- One extra fermenter and one extra bright beer tank for maintenance rotation.
- A CIP system that can switch automatically – one line cleans while another runs.
11. Staffing, Training, and Supply Management
Equipment doesn’t brew beer. People do.
Roles – For a 500–2,000 hL/year brewery, you need at least one brewer (who understands both process and micro), one maintenance and controls tech, and production operators. Every operator should be able to run a CIP cycle and recognize an alarm.
Training topics –
- Must have: valve identification (manual vs. actuated, diaphragm vs. butterfly), the four steps of CIP, proper sampling technique, fermentation temperature logging.
- Next level: navigating the PLC interface, replacing gaskets and repair kits, sensory off-flavor detection (diacetyl, acetaldehyde, DMS).
Supply management –
- Critical spares: seals, diaphragms, probes, heating elements. Keep two weeks’ worth on hand.
- Malt, hops, yeast: monthly orders with safety stock – enough for at least two brew days.
- Track yeast generations. When you hit the supplier’s limit, discard it or relegate it to your cheapest product.
12. From Design Consultation to Turnkey Handover: A Practical Roadmap
Most brewery projects break down into six milestones:
- Requirements (1–2 weeks) – annual output, beer styles, packaging mix, site constraints, budget, timeline.
- Concept design (2–4 weeks) – general arrangement, process flow diagram, equipment list, rough utility estimates (water, power, steam, cooling).
- Detailed design (4–8 weeks) – P&IDs, electrical and controls drawings, platform and structural requirements, CIP calculations, 3D pipe routing.
- Fabrication and procurement (8–20 weeks) – long-lead items like the brewhouse, fermenters, heat exchanger, and chiller. Order specialty valves and instruments early.
- Installation and commissioning (4–10 weeks) – consider successful cold commissioning (CIP loops verified) as the internal handoff point.
- Trial and acceptance (2–4 weeks) – three consecutive batches that meet spec (chemistry and micro). Signed training records. As-built drawings and spare parts list delivered.
A note on turnkey – “Turnkey” doesn’t mean you walk away. Assign one in-house engineer to be present during installation and commissioning. Because one mis-labeled valve can shut you down for half a day.
A brewery comes together in the details. The right tank volumes. The slope of a floor drain. The polish inside a weld. And the brewer who instinctively tightens the sample valve cap before walking away. The more you plan upfront, the fewer midnight emergencies you’ll have later. Hopefully, this gives you a solid starting point – whether you’re sketching on a napkin or reviewing a contractor’s P&IDs.
양조장 장비 프로젝트에 대해 궁금한 점이 있으신가요? 다음을 수행할 수 있습니다. 알려주세요 양조장에 대한 요구사항을 알려주시면 24시간 이내에 턴키 솔루션을 제공해 드립니다.