Starting a brewery looks simple from the outside — water, malt, hops, yeast. The hard part isn’t brewing; it’s everything before the first batch: choosing the right capacity, securing a suitable site, buying equipment that won’t let you down, and clearing licensing hurdles. Get the planning right and your brewery opens on schedule and on budget. Get it wrong and you join the majority of projects that stall before a single keg is filled.
This guide walks you through seven steps — from market planning to your first commercial batch — built for small to mid-size commercial breweries in the 1000L–5000L range. Follow it in order, and use the printable checklist at the end to keep your project on track.
Step 1: Define your market, then your capacity
The most expensive mistake in brewing is buying equipment before you know what you’re selling.
Position your product first. Decide your market before your machines:
- Style focus: craft/ale-focused taproom, or lager production for wider distribution?
- Package: keg, bottle, or can — each drives different packaging equipment needs?
- Sales model: on-site taproom, wholesale/distribution, or both?
Size your capacity from sales, not from ambition. A simple way to work backwards from your sales target:
Target weekly volume (L) ÷ batch size (L) ÷ batches per week = number of brewhouses neededExample: a brewery targeting 2,000L of packaged beer per week, brewing 2,000L batches, needs one batch every ~4 days with a 2,000L brewhouse and enough fermentation capacity to hold 3–4 weeks of production. A rule of thumb: buy fermentation capacity for 3–4 times your weekly output; buy the brewhouse to match one day’s brewing.
Plan a realistic budget. A common planning split used by operators is roughly: equipment 40–50%, site preparation and installation 20–30%, licensing and certification 5–10%, and working capital 15–20%. Actual shares vary by market and site.
Step 2: Choose and prepare your site
Location decides half your project’s success before a single vessel arrives.
Space requirements. A commercial brewery needs more room than most founders expect. As a starting point, plan for roughly [FACTORY DATA: INSERT recommended floor area and ceiling height per capacity from your layout engineer]:
| System capacity | Suggested floor area | Ceiling height |
|---|---|---|
| 1000L | 100-200 m² | ≥2.5m |
| 2000L | 300-500m² | ≥3m |
| 3000L | 500-800m² | ≥4m |
| 5000L | 800-1000m² | ≥5m |
Utilities — confirm before signing the lease:
- Water: brewing uses roughly 4–6 L of water per litre of beer; check supply and drainage capacity.
- Power: motors, pumps, glycol chillers, and controls add up quickly.
- Steam (for steam-heated systems): boiler room, ventilation, and gas/electric supply.
- Drainage: high-temperature discharge from the brewhouse and CIP.
- Refrigeration room for glycol and cold storage.
Layout zoning. Keep the flow one-way: brewhouse → fermentation → packaging → cold storage, with a small lab/QC area and dry goods storage. A good layout cuts labour, cleaning time, and contamination risk for the life of the brewery.
Free layout service: send us your floor plan with dimensions and we will draw a professional equipment layout for your capacity — no obligation.
Step 3: Select your equipment
This is the biggest purchase and the most common place to make costly mistakes. Understand the four core choices:
1. Capacity in litres vs barrels. Buyers in different regions search in different units. Quick reference (1 US beer barrel = 117.35 L):
| Litres | US barrels (BBL) |
|---|---|
| 1,000L | ≈ 8.5 BBL |
| 2,000L | ≈ 17 BBL |
| 5,000L | ≈ 42.6 BBL |
| 10,000L | ≈ 85 BBL |
2. Brewhouse configuration:
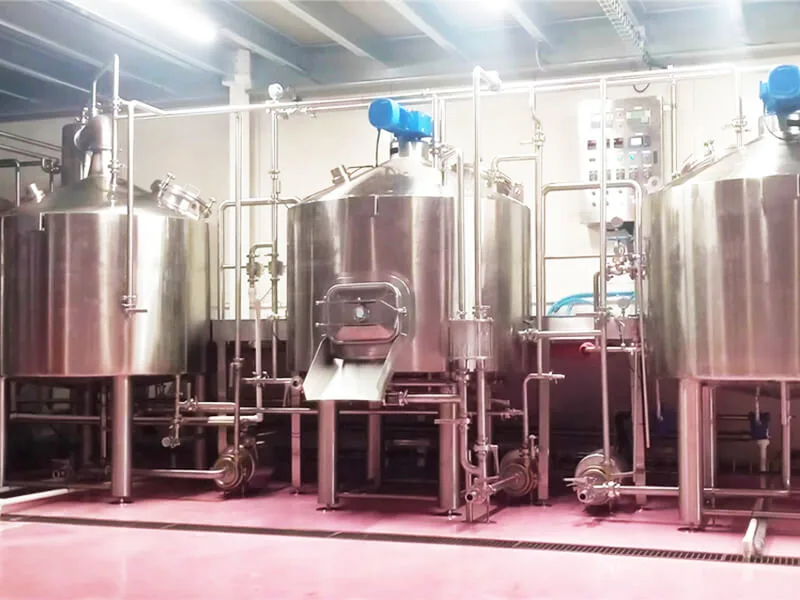
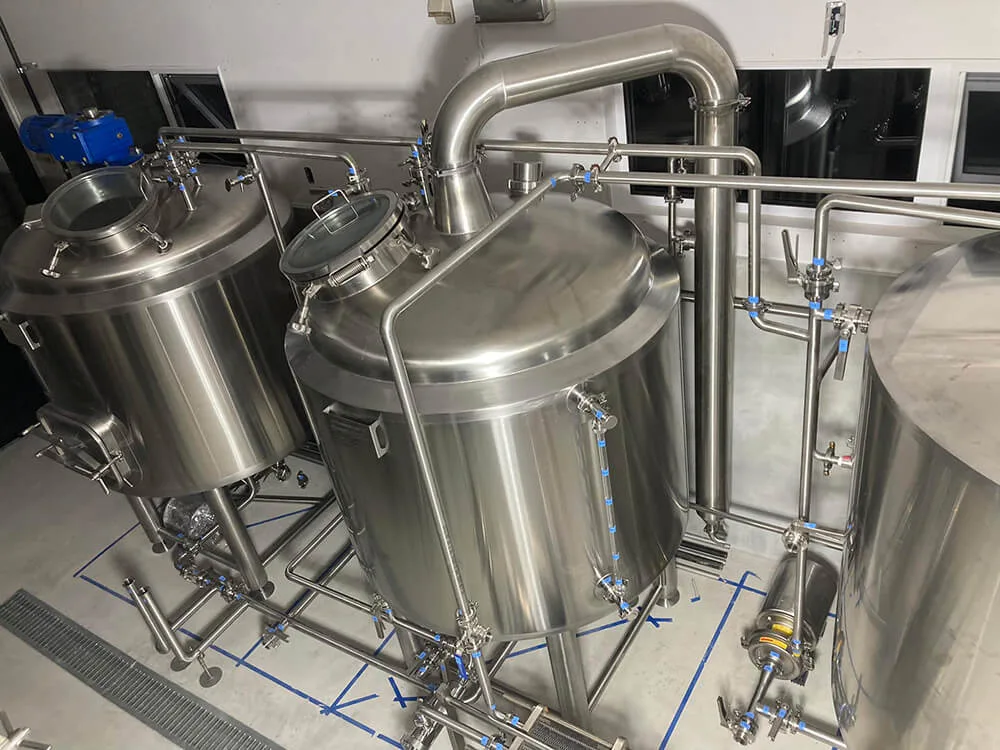
- 2-vessel (mash tun + brew kettle/whirlpool): compact footprint, lower cost, ideal for 300L -1000L
- 3-vessel (mash tun + lauter tun + brew kettle): more flexibility, higher efficiency, better suited to 1000L or breweries running many recipes.
- 4-vessel (mash tun + lauter tun + brew kettle+whirlpool tank):Separate boiling and whirlpool for better wort clarity.
- 5-vessel (mash tun + lauter tun + hold tank+brew kettle+whirlpool tank):Hold tank enables parallel mashing and boiling, shortening total brew day time.
- 6-vessel (pre-mash tun+mash tun + lauter tun + hold tank+ brew kettle+whirlpool tank):Pre-mash tun allows processing more grain types (including raw/unmalted grains), greatly improving extract yield and recipe flexibility.
3.Selection Guide:
- Startup / Brewpub (300L–1000L): 2-Vessel offers the best value, small footprint, and low operational complexity.
- Regional Craft Brand (1000L–3000L): 3-Vessel or 4-Vessel balances efficiency and cost, supporting multiple recipes.
- Mid-Scale Production (3000L–5000L): 4-Vessel is the mainstream choice; whirlpool separation improves wort quality.
- Large-Scale High-Efficiency (5000L and above): 5-Vessel or 6-Vessel maximizes daily output through parallel operations and reduces energy cost per liter.
4. Heating method.
- Vapore: fastest heat-up, best energy efficiency at scale — the mainstream choice for 2,000L and above.
- Elettrico: simplest installation, no boiler, suits smaller systems or sites without gas.
- Direct fire: lowest capital cost, but less precise temperature control.
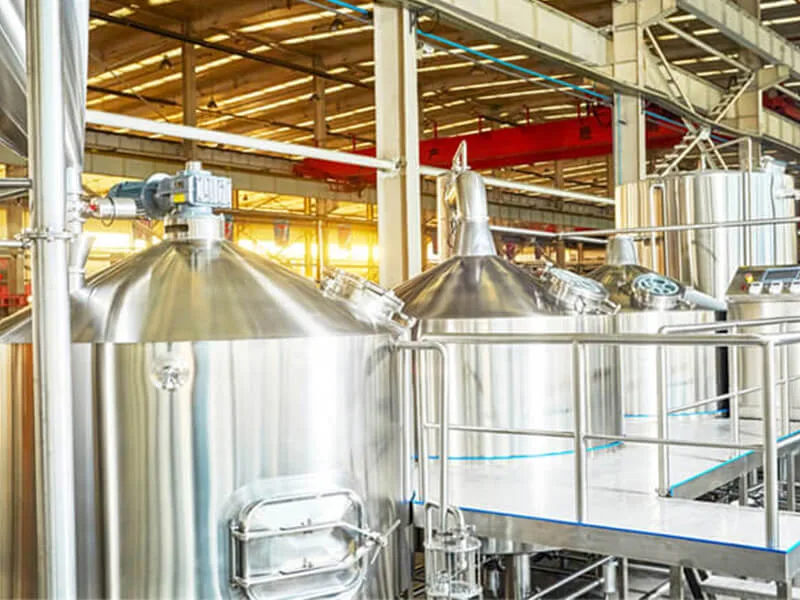
5. Material and finish. Food-grade SS304 is the standard for beer-contact surfaces (SS316 for aggressive cleaning chemicals); look for sanitary welding, mirror-polished internal surfaces, and proper insulation on vessels and tanks. Confirm the tank pressure rating and cooling jacket design for your CCT fermentation tanks.
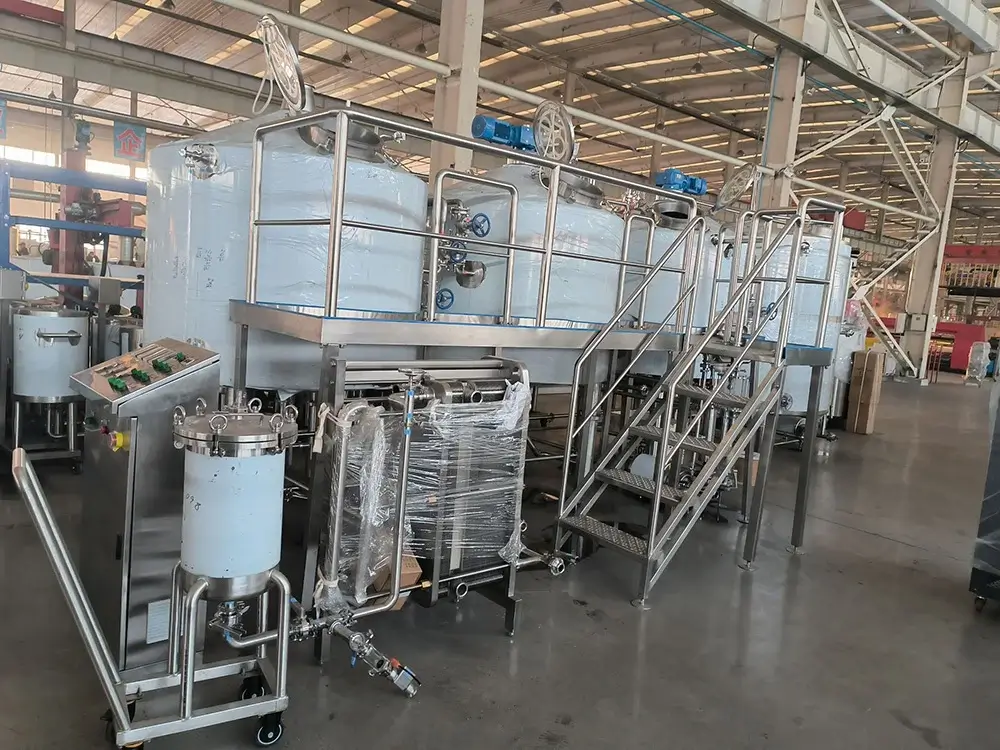
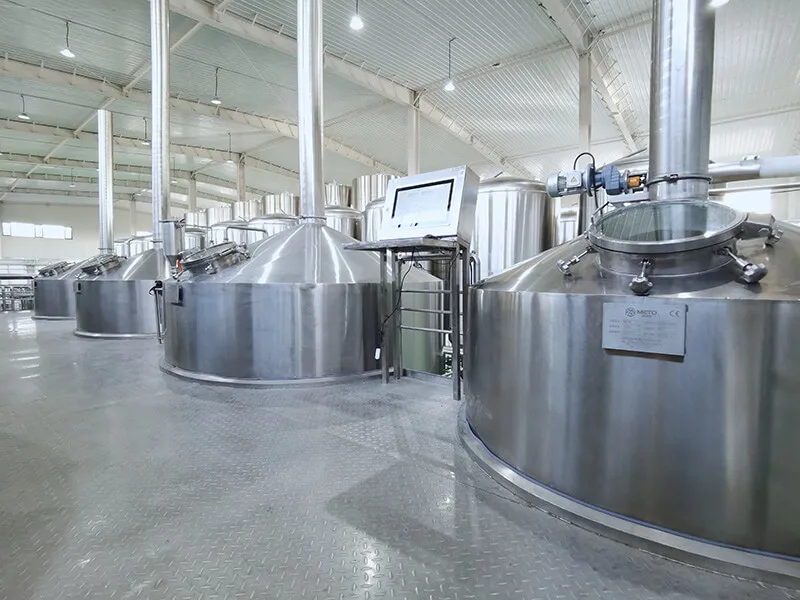
Full system checklist — a complete turnkey brewery includes: brewhouse, CCT fermentation tanks, bright beer tank, glycol cooling system, CIP cleaning system, sanitary piping, and the PLC control panel. Confirm what is inside the price before comparing quotes.
Automation level: from manual valves to fully automatic PLC with recipe programming. For commercial scale, PLC-automated control removes batch-to-batch variation — the difference between “good beer” and “consistent beer”.
Step 4: Choose your supplier — and sign a smart contract
The best equipment in the world is worthless if the supplier disappears after shipment. Treat supplier selection as seriously as equipment selection.
Due diligence checklist:
- Video factory tour / live inspection (most reputable Chinese manufacturers will do one on request)
- Third-party inspection reports on past shipments (or arrange SGS/BV-style inspection before shipping)
- Verifiable customer references — ideally a brewery you can contact directly
- Certifications: CE, ISO9001, ASME
Contract must-haves:
- Lead time with penalty clause:Standard lead time is 30–45 days after deposit and drawing confirmation. Any delay beyond this period will be subject to penalty provisions as stipulated in the contract.
- Payment milestones tied to production stages (not 100% upfront)
- Acceptance criteria: what tests happen before shipping (pressure test, CIP trial run)
- Warranty: Warranty term and after-sales support response time commitment
- Spare parts policy: availability and typical delivery time
Red flags: prices far below market, refusal to show the factory, vague specs (“high quality stainless steel” instead of SS304/SS316), and suppliers who can’t explain their own system layout.
Step 5: Install, commission, and train
This is where a turnkey contract pays for itself.
Before the equipment arrives:
- Floor load capacity confirmed for filled vessels
- Water, power, steam/gas, and drainage connections ready at marked positions
- Ventilation and exhaust in place for the brewhouse
On arrival:
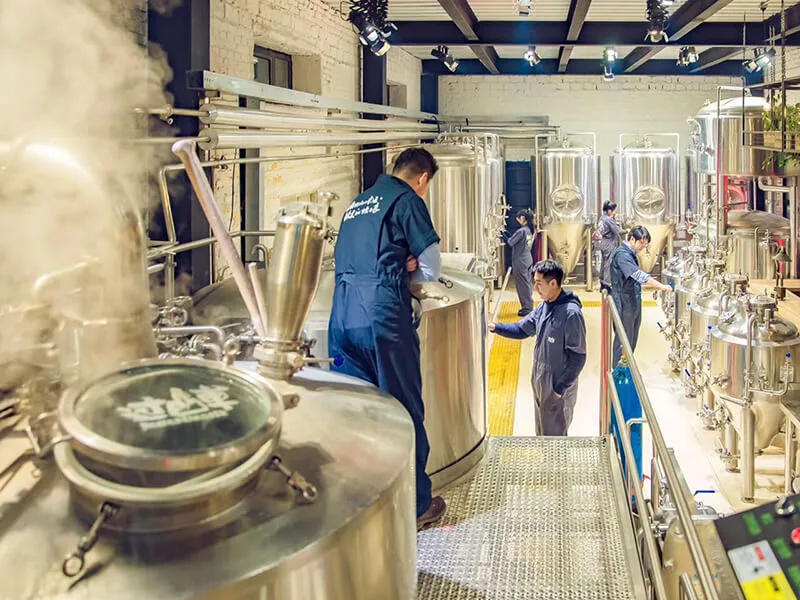
- Check the packing list item by item before signing
- Visual inspection for transit damage
- Pressure test of vessels and piping
- Full CIP cleaning before first use
- Trial run with water, then with wort
Step 6: Licensing and compliance
Requirements vary by market — always verify with local authorities — but the pattern is consistent:
- Business/production licence to manufacture and sell alcoholic beverages (e.g. TTB in the US, national/regional licences in the EU, local permits in Southeast Asia).
- Conformità alle norme relative al contatto con gli alimenti for equipment: materials in contact with beer must meet food-grade standards; exporters should hold relevant CE/ISO documentation. [FACTORY DATA: INSERT the exact certifications and standards your equipment meets.]
- Local inspections are usually tied to building, fire safety, and hygiene — align your layout with these before construction, not after.
Equipment-side compliance is your supplier’s responsibility; production-side licensing is yours. Get both checked before you commit to a site.
Step 7: Brew your first batch — and scale up
Before brewing: water treatment (adjust minerals to your style), grain and hop sourcing with consistency in mind, and yeast management (healthy, viable cultures are non-negotiable).
First batches are for learning, not selling:
- Run 2–3 trial batches to stabilize the recipe and the process.
- Set QC targets: original gravity, final gravity, pH, and sensory checks.
- Measure actual cycle times and yields against your plan — this is the data that tells you whether your capacity planning was right.
Scale-up path: pilot sales (taproom, local accounts) → feedback → adjust → ramp production. Expansion is modular: add fermentation tanks first, upgrade brewhouse vessels when demand justifies it.
Master checklist: from plan to first batch
| # | Palcoscenico | Key actions | Done |
|---|---|---|---|
| 1 | Market & capacity | Define product, sales model; calculate required capacity; set budget | ☐ |
| 2 | Site | Confirm space, utilities, zoning; order layout drawing | ☐ |
| 3 | Equipment | Choose vessels, heating, automation, materials; confirm full package | ☐ |
| 4 | Fornitore | Video audit, references, contract with milestones & warranty | ☐ |
| 5 | Install | Site prep, acceptance, pressure test, CIP, training | ☐ |
| 6 | Compliance | Production licence, food-contact compliance, local inspections | ☐ |
| 7 | First batch | Trial batches, QC targets, pilot sales, scale-up plan | ☐ |
FAQ
Q1. What capacity should I choose?
Start from your sales target, not from equipment brochures. Work backwards from weekly sales ÷ batch size, and buy fermentation capacity for 3–4 times weekly output. If you share your target volume, we will recommend a system size.
Q2. What does a complete turnkey brewery system include?
Brewhouse (2/3/4/5/6-vessel), CCT fermentation tanks, bright beer tank, glycol cooling, CIP system, sanitary piping, and PLC control panel — plus installation and commissioning. The exact configuration is confirmed in your quotation.
Q3. Do you provide installation and operator training?
Yes — a turnkey project includes on-site installation, commissioning, and operator training until your team can brew consistent batches independently.
Q4. What is your production lead time?
Standard lead time is 30–45 days after deposit and drawing confirmation
Q5. What is your warranty and after-sales support?
We offer a 60-month warranty on all tanks and a 12-month warranty on components and accessories, along with remote troubleshooting, spare parts supply, and technical support even after the warranty period expires.