So you’re planning a brewery—whether it’s a craft startup or an expansion of an existing production facility. The difference between a brewery that scales smoothly and one that fights you every step of the way often comes down to decisions made long before the first brew day. This guide walks through the critical systems, layout choices, and operational handover steps that separate a well-oiled production line from a constant troubleshooting exercise.
Capacity Planning: Brewhouse, Fermenter Mix, and Chiller Sizing
Getting capacity right is less about chasing a big number and more about balancing three moving parts: brewhouse throughput, fermentation vessel utilisation, and refrigeration capacity.
The brewhouse sets your peak daily output, but the fermenter mix determines how many batches you can cycle per week. A common oversight? Sizing the chiller for the brewhouse while forgetting the heat load from active fermentation. During peak attenuation, a 100-hectolitre fermenter can reject more heat than the entire kettle section.
A practical rule of thumb: For a 50-hl brewhouse targeting 8–10 turns per day, plan on 2.5 to 3 times your brewhouse volume in fermenter capacity per day of active fermentation. That means if you’re running a 7-day cycle, you’ll need around 17–20 fermenters at 50 hl each. Your glycol system should be sized for the peak instantaneous load—typically the first 48 hours after knockout—not the average.
Also, consider future-proofing your utility connections. Oversizing the main chiller loop and glycol header by 20–30% costs a fraction of retrofitting later. It’s one of the few places where “build it bigger now” actually pays off.
Brewery Layout That Supports a Clean, Safe Process
A hygienic brewery isn’t built with fancy finishes—it’s built with material flow that prevents cross-contamination and drainage that doesn’t pool.
The classic “gravity flow” layout (mash tun above lauter tun, kettle below, whirlpool alongside) isn’t just about pump savings. It creates a logical separation between hot-side (wort production) and cold-side (fermentation and bright beer) areas. Hot-side operations are inherently more forgiving; cold-side demands a near-surgical environment.
Key layout principles:
- One-way product flow. Raw materials enter at one end; packaged beer exits the other. No backtracking.
- Physical separation. Fermentation and packaging should have dedicated HVAC with positive pressure. The brewhouse can be ventilated with roof fans.
- Floor drains every 4–5 metres with a minimum 2% slope toward collection points. Trench drains along the brewhouse front and in the fermenter cellar are non-negotiable.
- Elevated platforms for dry ingredient handling keep dust away from wet areas and make clean-up predictable.
If you’re working within an existing building, map your equipment footprint against column spacing and overhead clearance before ordering vessels. A 200-hl kettle may fit on paper, but can your forklift get it through the roll-up door?
Choosing a Brewhouse for Scalable Brewing: Mash, Lauter Tun, Kettle, Whirlpool
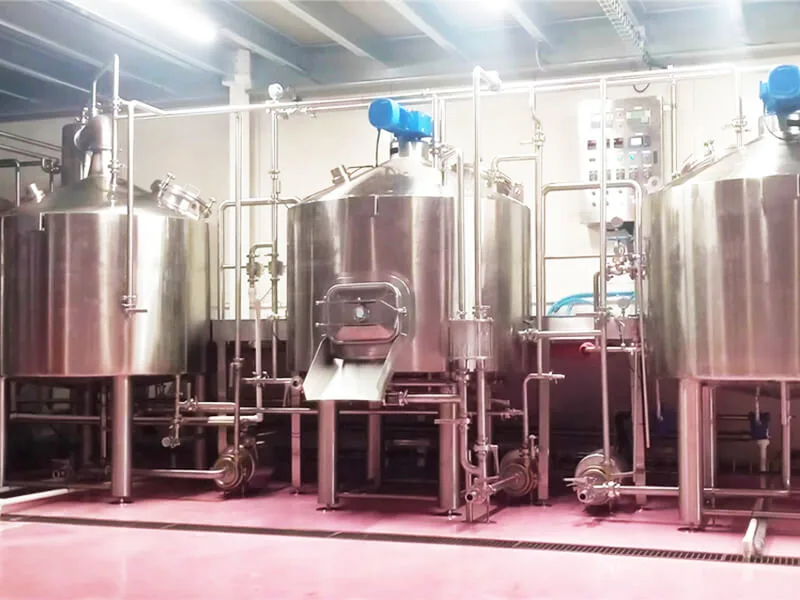
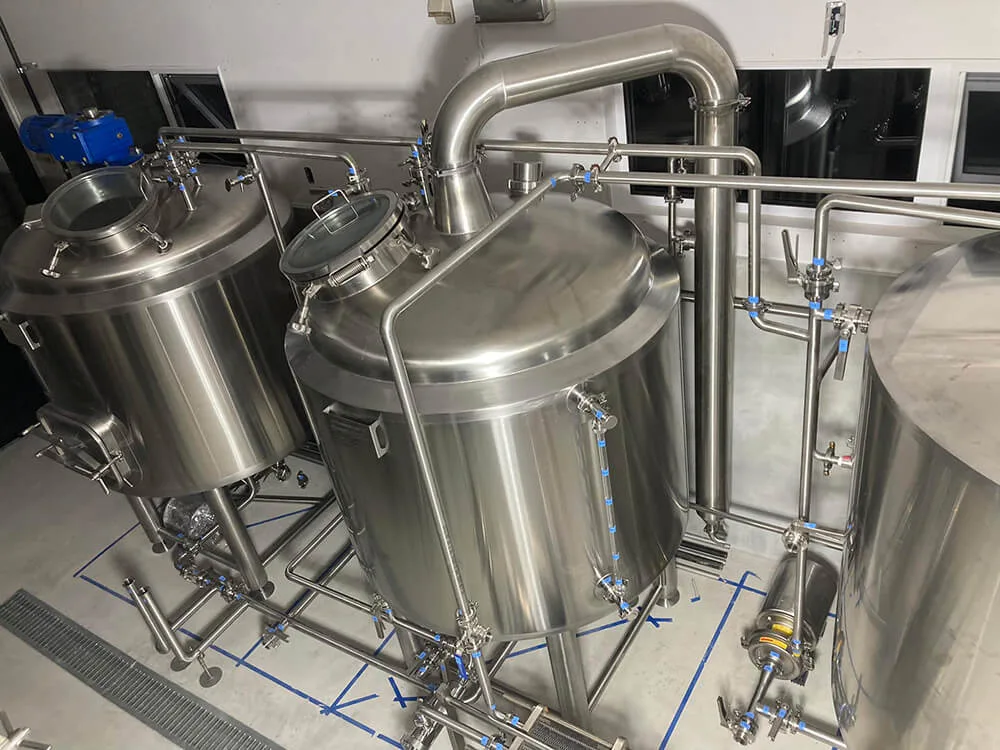
The classic four-vessel setup remains the industry standard for good reason. Each vessel does one job well:
- Tino di ammostamento – starch conversion and enzyme activity.
- Agire con maggiore sincerità – wort separation and spent grain discharge.
- Kettle – boiling, hop additions, and isomerisation.
- Whirlpool – trub separation and wort clarification.
For breweries under 100 hl, a combination mash-lauter tun saves floor space and capital, but it limits your ability to do step mashes or handle high-adjunct grists. Above 100 hl, dedicated lauter tuns with raking mechanisms become essential for extract efficiency.
Scalability tip: Choose a brewhouse with a wort receiver or grant between the lauter and the kettle. This small buffer lets the lauter run at its optimal rate while the kettle boils independently—critical when you’re pushing 8+ turns per day.
Also, pay attention to heating surface area, not just burner power. A kettle with 1.2–1.5 m² of heating surface per hl of wort will give you consistent boil-off rates without scorching. Under-sized heating surfaces create longer boil times, which kill your daily throughput.
Automation and Control Systems for Consistent Quality
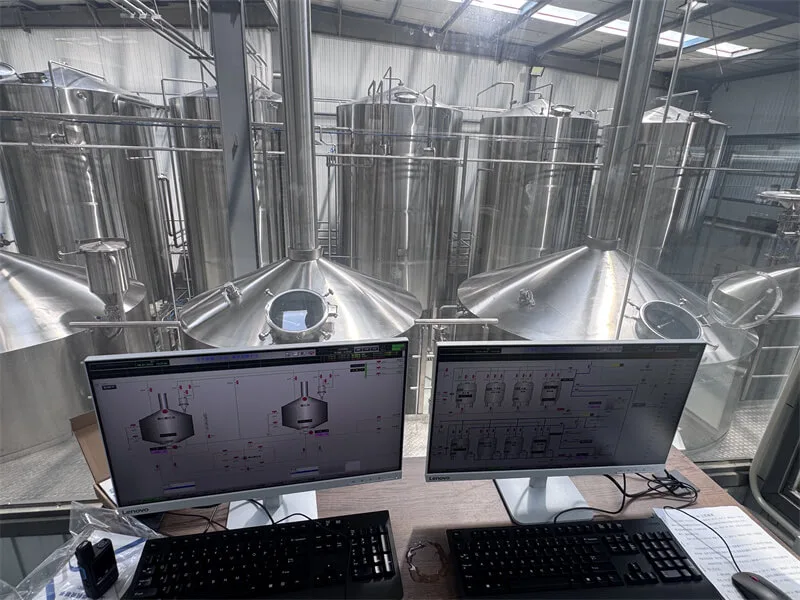
Consistency isn’t about removing the brewer—it’s about freeing the brewer to focus on sensory evaluation and recipe development rather than valve-watching.
A modern brewery control system should handle:
- Mash-in temperature ramps (within ±0.5°C).
- Lauter flow control (maintaining a constant grain bed depth).
- Kettle boil intensity (steam valve modulation).
- Knockout temperature to the fermenter (within ±0.3°C).
- Fermentation temperature profiles (diacetyl rest, cold crash).
- CIP sequence automation (temperature, concentration, contact time).
Practical advice: Don’t over-automate the brewhouse if your batch sizes vary widely. A system with manual overrides on critical valves lets you adapt to unusual grists or hop loads. But on the cold side, automation is non-negotiable—fermenters don’t forgive temperature swings.
Choose a control platform with remote diagnostic capability. When something goes wrong at 2 a.m., your supplier should be able to log in and see the alarm history without a site visit. That alone can save days of downtime.
Sanitary Piping, Valves, and CIP: The Hygienic Foundation
If your piping isn’t sanitary, nothing else matters.
Key standards:
- DIN 11850 o 3A sanitary tubing with true welded connections where possible.
- Tri-clamp fittings on all removable components—no threaded connections on product-contact surfaces.
- Automatic valves with angled bodies to prevent pooling.
- Dead-leg elimination. Every tee and branch should be designed so that product velocity flushes all surfaces. No caps, no blind pockets.
Your Sistema CIP should be sized for the longest circuit—typically the run from the brewhouse to the farthest fermenter. Return line velocity must exceed 1.5 m/s to ensure turbulent flow cleaning. For a facility with 200 metres of total piping, that means a CIP pump of at least 30–40 m³/h at 2.5 bar.
One overlooked detail: Supply hot water for rinses from a dedicated service tank, not directly from the boiler. Boiler water contains treatment chemicals that can leave residues. A separate hot water storage tank at 85°C gives you rinse water that’s thermally clean.
Glycol, Temperature Control, and Utilities Integration
Your glycol system is the circulatory system of the brewery. Undersize it, and you’ll spend every summer fighting rising fermentation temperatures. Oversize it, and you’ll waste energy cycling compressors.
Design parameters:
- Glycol concentration: 30–35% propylene glycol gives a freeze point around -15°C, safe for most cellar temperatures.
- Return temperature: Design for -4°C return to the chiller; -2°C at the fermenter jackets.
- Buffer tank: A 10–15 hl glycol buffer tank smooths out demand spikes. Without it, your compressors short-cycle and die prematurely.
- Secondary pumping: Use variable-speed pumps on the secondary loop. Fermenters only call for cooling when actively fermenting—why pump at full flow 24/7?
Utilities integration means linking your boiler, chiller, compressed air, and CO₂ recovery into a single monitoring system. When the boiler ramps up, the condensate return tank should tell the feedwater pump to adjust. When the chiller is near capacity, the automation system should stagger fermenter cooling calls rather than let all jackets open at once.
Packaging System Choices and Material Flow
Packaging is where your beer meets the consumer—and it’s also where most breweries lose efficiency.
The main decision points:
- Kegging lines: Semi-automatic with 2–3 heads for under 50,000 hl/year. Fully automatic rotary for larger volumes.
- Canning vs. bottling: Cans have lower capital cost and better oxygen barrier; bottles have higher perceived value in certain markets. Many new breweries start with a canning line and add a bottle filler later.
- Depalletising and palletising: Manual is fine under 50 cans per minute. Above that, invest in a depalletiser—your backs will thank you.
Material flow matters as much as the filler itself. Empty cans or bottles should enter from one side, filled packages exit from the opposite end. The conveyor path should have no 180-degree turns that create back-pressure and jam risk.
Also, plan your bright beer tank (BBT) capacity against your packaging schedule. A common ratio is 1.5–2 times your largest packaging run in BBT volume. If you can only package twice a week, you need enough BBT capacity to store a week’s production at final gravity.
Microbrewery vs. Large-Scale: What Actually Changes?
The principles are the same; the scale changes the constraints.
Microbrewery (under 30 hl):
- Combination vessels save space and cost.
- Riscaldamento elettrico is viable and simpler to control.
- Manual cleaning with portable CIP carts works fine.
- Batch-to-batch variation is acceptable if you’re brewing seasonals.
Large-scale (over 150 hl):
- Dedicated vessels for every process step.
- Riscaldamento a vapore is non-negotiable for energy efficiency.
- Centralised CIP with automated valve manifolds and chemical recovery.
- Statistical process control on every critical parameter—not just temperature, but pH, dissolved oxygen, and specific gravity at multiple points.
The biggest difference? Changeover time. In a microbrewery, you can spend 30 minutes washing a fermenter. At scale, every extra minute of cleaning is a lost batch worth thousands of dollars. That drives investment in automated CIP skids, quick-change fittings, and parallel processing.
Building Around the Existing Facility: Fabrication, Drains, and Ventilation
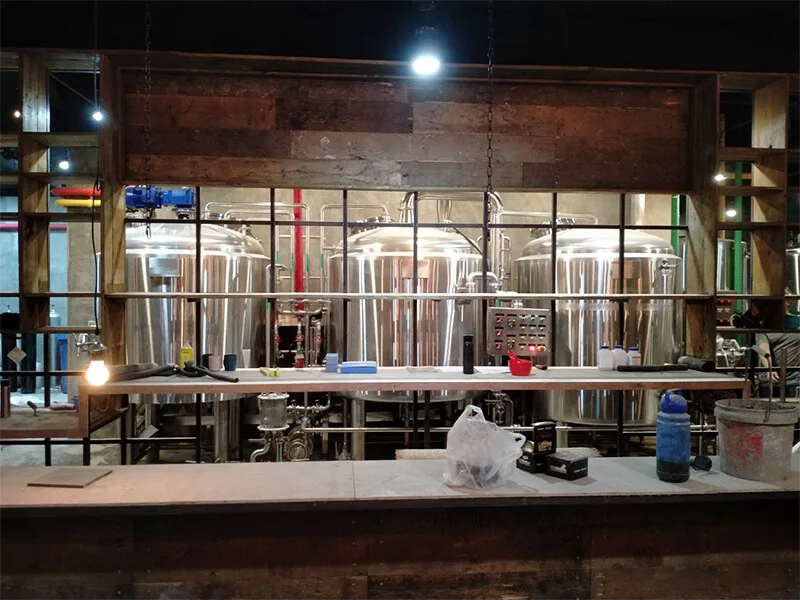
Retrofitting a brewery into an existing building is a different beast than greenfield construction.
Fabrication access: Confirm that your equipment can physically enter the building. We’ve seen 120-hl fermenters ordered for a basement with no crane access—the solution involved cutting a hole in the floor above.
Floor drains: Existing floors rarely have adequate slope. You have two choices—saw-cut new trenches or install raised grating systems with catch basins. The latter is more expensive but less disruptive and easier to modify later.
Ventilation: Hot-side operations generate massive steam and vapour loads. A typical brewhouse needs 15–20 air changes per hour during active boiling. That means powered roof exhausters with motorised dampers, plus makeup air units that don’t create negative pressure in the cold-side areas.
Noise and vibration: Your neighbour isn’t going to love a 200 kW compressor running at night. Plan for silencers, anti-vibration mounts, and acoustically insulated compressor rooms from day one.
Commission, Ramp-Up, and Minimising Downtime
Commissioning is where good design meets reality. The most expensive mistake? Treating it as a one-week event.
A realistic commissioning timeline:
- Week 1–2: Mechanical completion and pressure testing.
- Week 3: Electrical and controls validation—no product yet.
- Week 4: Water runs to test flows, temperatures, and CIP coverage.
- Week 5: First brews with water only to confirm yields and evaporation rates.
- Week 6: First production brews at reduced batch sizes.
- Week 7–8: Full-capacity runs with gradual ramp-up of turns per day.
To minimise downtime during installation in an existing facility:
- Stage equipment in a laydown area before the installation window.
- Pre-fabricate pipe spools off-site where possible.
- Schedule the main shutdown during a period of low demand (e.g., January/February for many markets).
- Have spare gaskets, sensors, and valve diaphragms on hand before Day 1.
Ramp-up should be deliberate. Increase batch count by one per day until you hit your target, then hold for a week to stabilise. This gives your team time to adjust and identifies bottlenecks at low risk.
Staffing, Training, and Brewing Supplies
The best equipment runs on people. Understaffing kills quality; overstaffing kills margins.
Staffing benchmarks (per shift, for a 50-hl facility with 8 turns/day):
- 1 brewhouse operator
- 1 cellar operator (fermentation and filtration)
- 1 packaging operator (plus 1–2 general hands)
- 1 quality control technician (shared across shifts)
- 1 maintenance technician (day shift only, with on-call rotation)
That’s a total of 6–8 per shift, with 2 shifts per day during ramp-up, moving to 3 shifts at full capacity.
Training should be layered:
- Supplier training during commissioning—document everything.
- Internal SOPs written in plain language, with photo references for valve positions and CIP connections.
- Cross-training so every operator can cover at least two areas—critical for sick leave or turnover.
Brewing supplies—hops, malt, yeast, and adjuncts—should be ordered with a lead time that matches your supplier’s harvest and processing cycle. For specialty malts, that can be 3–4 months. For base malt, 6–8 weeks is typical. Track your inventory against projected production, and maintain a safety stock of at least 10% for your top 3 SKUs.
Design Consultation to Turnkey Handover: A Practical Roadmap
A turnkey handover isn’t magic—it’s a controlled sequence of deliverables.
Phase 1: Concept design (4–6 weeks)
- Capacity target and product mix.
- Equipment list and preliminary layout.
- Utility load calculations.
- Budget estimate ±30%.
Phase 2: Detailed engineering (8–12 weeks)
- P&IDs, GA drawings, and structural steel design.
- Pipe routing and valve schedules.
- Electrical single-line diagrams and control philosophy.
- Equipment quotations and final budget ±10%.
Phase 3: Procurement and fabrication (12–20 weeks)
- Equipment order and expediting.
- On-site fabrication of pipe spools, platforms, and supports.
- Off-site pre-assembly where possible.
Phase 4: Installation (6–10 weeks)
- Mechanical installation.
- Electrical and controls wiring.
- Mechanical and electrical pre-commissioning.
Phase 5: Commissioning and training (4–6 weeks)
- Water runs, CIP validation, and first brews.
- Operator training and SOP handover.
- Performance testing at full capacity.
Phase 6: Handover and post-commissioning support (ongoing)
- As-built drawings and O&M manuals.
- Spare parts inventory list.
- 12-month warranty with remote support.
Pensieri finali
Building a brewery is a capital-intensive, process-driven exercise. But it’s also an opportunity to create a facility that produces consistent, high-quality beer for decades. The key is to resist the temptation to shortcut the planning phase—because every hour spent on detailed engineering saves a week of troubleshooting during commissioning.
If you’re evaluating suppliers, ask them about their commissioning track record and post-installation support. A vendor that disappears after the cheque clears is not a partner—it’s a liability.
And remember: the best brewery layout is the one that your team can operate safely, clean efficiently, and maintain without heroic efforts. Plan for the people as much as the pipes, and you’ll be set for the long haul.
Need a second opinion on your equipment specification or layout? We’ve helped breweries from 10 hl to 500 hl size their utilities and commission without costly overruns. Drop us a note—we’re happy to review your draft P&IDs or discuss your cooling load calculations over a call.