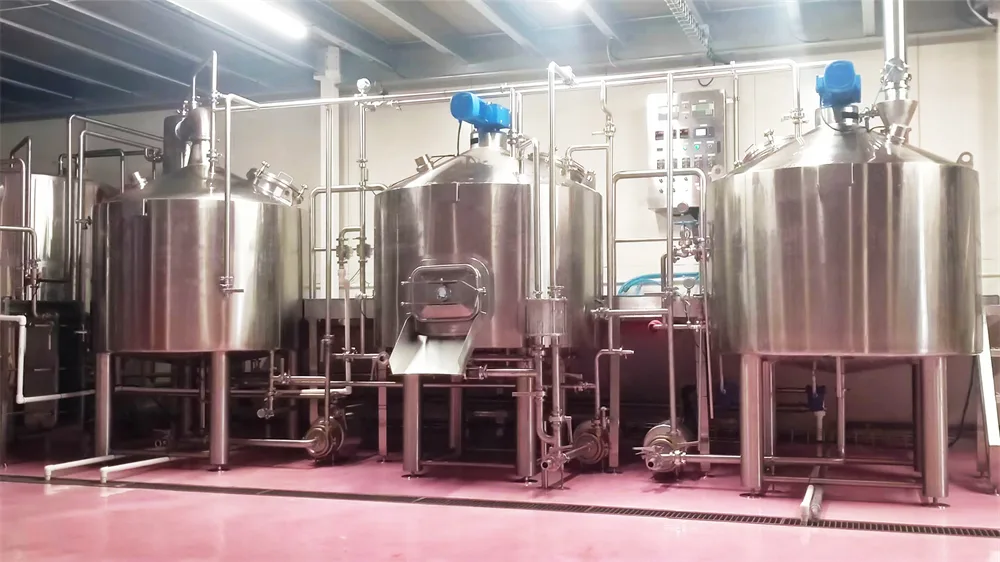
During the setup phase, many new craft breweries focus heavily on the specifications and configuration of their mash system—after all, it directly determines how much wort they can produce per batch. However, what truly dictates a brewery’s long-term production rhythm, product consistency, and operational efficiency is the thoughtful planning of its fermentation system.
The mash system answers “how much wort can I make at once?”
The fermentation system answers “can I keep brewing—consistently, reliably, and at high quality?”
Therefore, designing your first set of fermentation tanks (or fermenters) is a critical decision no small brewery can afford to overlook.
1. Plan Based on Real Production Needs—Not Just Mash Capacity
The number and total volume of your fermentation tanks should not simply mirror your mash tun size. Instead, calculate backward from your fermentation cycle time and desired brewing frequency.
For example, in an ale-focused small brewery:
Typical fermentation cycle: 10–14 days
Target brewing frequency: 2–3 batches per week
Required total fermenter capacity: 4–6 times your single-batch mash volume
Without sufficient tank capacity, even a highly efficient mash system will be forced to idle—bottlenecked by full fermenters.
✅ Tip: Define your sales forecast and production schedule first. Then determine your fermentation needs to avoid “fast mashing, slow fermenting.”
2. Mix Tank Sizes—Avoid Uniformity
Many startups install fermenters of identical capacity for simplicity in procurement and management. While convenient, this limits product diversity and agility.
A smarter approach:
2–3 main fermenters sized to match your standard batch
1–2 smaller fermentation tanks (e.g., 1/3–1/2 the main size)
Smaller tanks enable:
Pilot batches and recipe trials
Seasonal or limited-edition releases
Specialty beers (e.g., sour ales, dry-hopped IPAs)
This mixed-capacity strategy adds minimal cost but greatly enhances flexibility and market responsiveness.
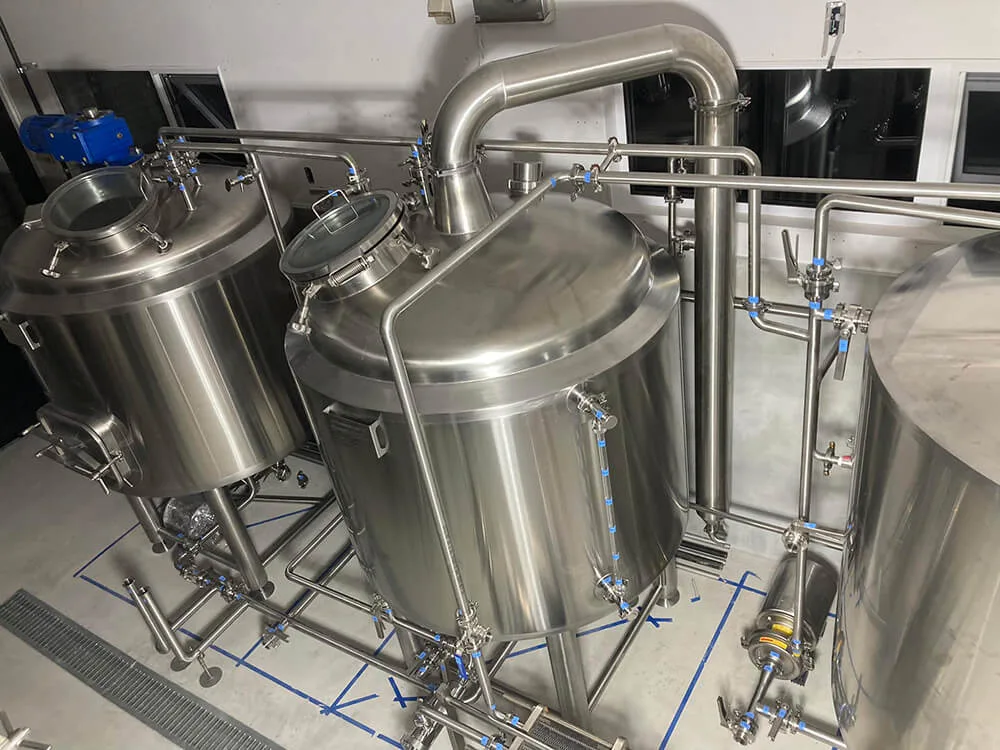
3. Pay Attention to Structural Details—They Shape Daily Operations
The usability of your fermentation tanks often hinges on overlooked design elements:
Cone angle: ≥60° recommended for efficient yeast settling, harvesting, and CIP cleaning
Glycol jacket design: Multi-zone or full-coverage jackets ensure precise temperature control
Manway position: Top manways simplify dry hopping and visual checks; side manways ease internal maintenance
Standardized fittings: Uniform ports, valves, and sensor interfaces simplify future upgrades
These details are fixed at manufacture—and will affect your workflow for years.
4. Design for Future Expansion—Don’t Overbuild Upfront
Most small breweries scale up within 1–3 years. Your initial system should support that growth:
Use consistent tank diameters and standardized connections for easy replication
Oversize your glycol chiller slightly to accommodate future tanks
Choose control systems (e.g., PLC or IoT-enabled) that allow adding new fermenters later
Reserve space, power, and utility access for expansion
Philosophy: Prioritize modularity, hygiene, control, and scalability over maximum initial capacity.
5. Clarify These Three Questions Before Buying Equipment
What’s your target annual output?
Example: 4 batches/month × 500 L = ~24,000 L/year
Which beer styles will you brew?
IPA: needs good temp control + dry-hop access
Lager: requires low-temp fermentation (8–12°C) and longer cycles
Sour/wild ales: may need isolated fermentation tanks to prevent cross-contamination
What’s your sales channel?
Taproom/bar: small batches, fast turnover
Distribution: larger batches, need bright tanks or cold storage
Your answers directly influence tank count, size, and whether you need dedicated bright beer tanks (BBTs) or cold storage.
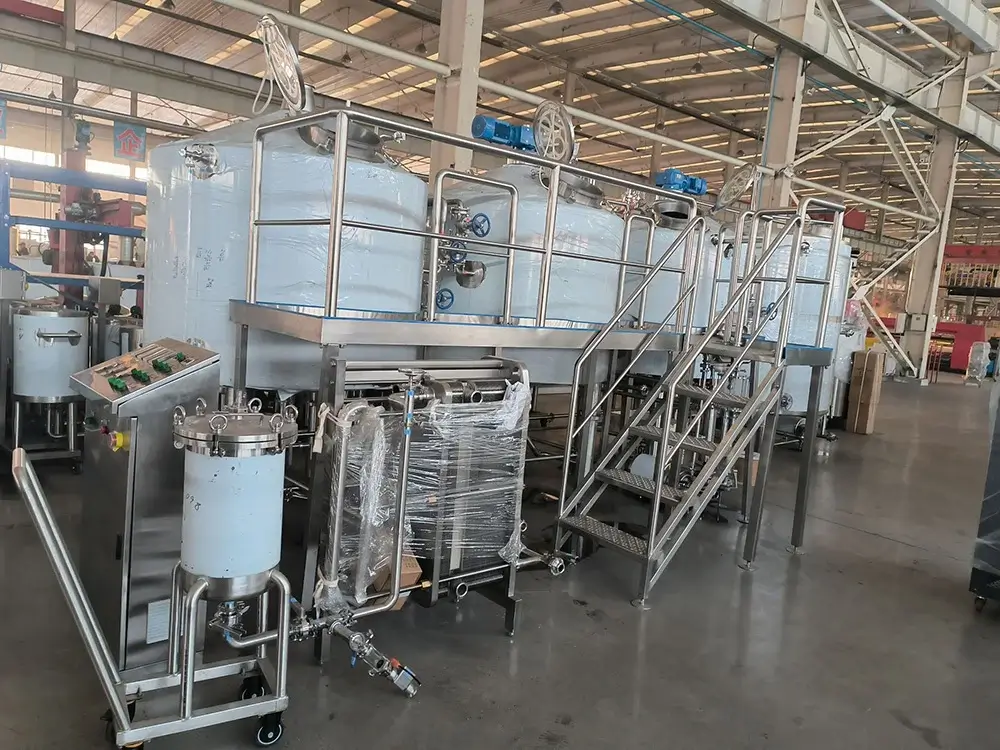
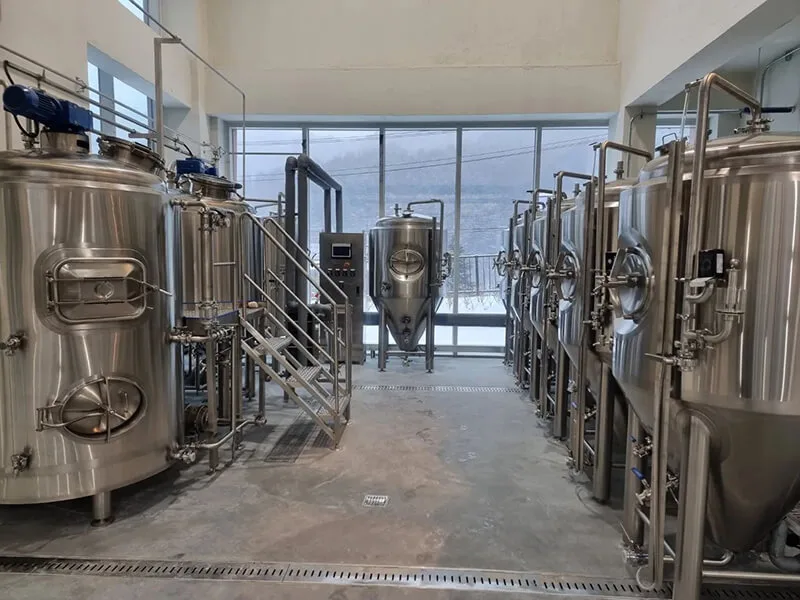
6. Core Components of a Small-Scale Fermentation System
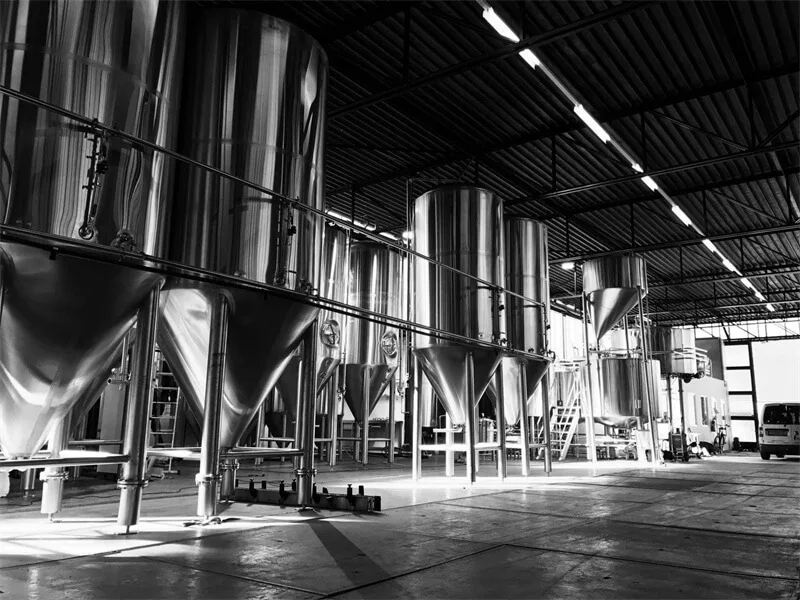
1. Fermentation Tanks / Fermenters
Material: Food-grade stainless steel 304 (cost-effective); stainless steel 316 for higher corrosion resistance (optional)
Capacity: 20–30% larger than mash batch (e.g., 500 L mash → 600–700 L fermenter) to allow for foam (krausen)
Quantity: Minimum 2–3 tanks to maintain weekly brewing
Features: Conical bottom, CIP spray ball, temperature probe port, pressure relief valve, sample valve
✅ Recommended setup: 2 main fermenters + 1 multi-purpose tank (for secondary fermentation, cold crashing, or temporary storage)
Unitank option: Consider unitanks if you want to combine fermentation, conditioning, and carbonation in one vessel—ideal for lean teams
2. Glycol Cooling System
Power: 1.5–3 kW chiller for small breweries
Cooling capacity: Allocate ~1–1.5 kW per fermentation tank under peak load
Ensure glycol jackets or coils cover the active fermentation zone—critical for lagers and temperature-sensitive styles
3. Yeast Management (Highly Recommended)
Short term: Use food-grade containers for yeast harvesting
Long term: Add a small 20–50 L yeast propagation/storage tank to improve batch-to-batch consistency
4. CIP (Clean-in-Place) System
Manual cleaning is inefficient and risky
Invest in a simple CIP cart: pump + acid/alkali tanks + hoses
Enables closed-loop cleaning, reduces contamination risk, and ensures hygiene standards
Final Thought: Equipment Is a Tool—Beer Is the Soul
Your first fermentation system doesn’t need to be perfect—but it must be safe, cleanable, controllable, and scalable.
Craft brewing thrives on flavor, creativity, and character. A well-planned set of stainless steel fermenters gives you the reliable foundation to express that vision—batch after batch.
The best equipment isn’t the most expensive—it’s the system that lets you sleep well at night, brew great beer consistently, and grow alongside your business.
Let me know if you’d like a version optimized for a brochure, investor pitch, or equipment supplier RFP!
Если у вас есть вопросы по пивоварению, пожалуйста, не стесняйтесь связаться с нами Оборудование Meto.