Lager beer is the most consumed beer type in the world. From crisp Pilsners to rich Bocks, they all belong to the lager family. Yet, many homebrewers approach lagers with a mixture of desire and trepidation—it demands more precise temperature control and longer fermentation times. But the reward is immense: a clear, pure, perfectly balanced lager is every brewer’s pride.
Today, let’s dive deep into the lager brewing process and answer some key technical questions.
What Exactly is Lager Beer?
Before exploring the brewing process, let’s clarify a fundamental concept.
Lager is not a specific flavor profile but a general term for beers fermented with bottom-fermenting yeast at lower temperatures and subsequently aged. Its counterpart is Ale, which uses top-fermenting yeast and ferments at warmer temperatures.
The word “lager” comes from the German word “lagern,” meaning “to store.” This is the core process of lager beer: after primary fermentation, the beer requires extended aging (lagering) at near-freezing temperatures, allowing the flavor to become clean and the mouthfeel exceptionally smooth.
The Purpose and Characteristics of Lager Beer
- Clean Flavor Profile: Low-temperature fermentation suppresses the formation of esters and higher alcohols, letting malt and hop flavors take center stage without fruity or solventy off-notes.
- Crisp Mouthfeel: Extended cold conditioning allows suspended particles to precipitate fully. The body becomes brilliantly clear, carbonation is soft, and the finish is exceptionally crisp.
- Showcases Ingredient Quality: Because the flavor is so clean, any raw material defects become glaringly obvious. A perfect lager is the highest tribute to a brewer’s skill and ingredient quality.
- Extremely Diverse Styles: From pale, bitter-forward Pilsners to malt-accented Vienna Lagers, dark Munich Dunkels, strong Bocks, and smoked lagers, the lager world is far richer than many imagine.
Simply put, the purpose of a lager is to provide a clean, transparent canvas, enabling a completely unadulterated dialogue between malt and hops.
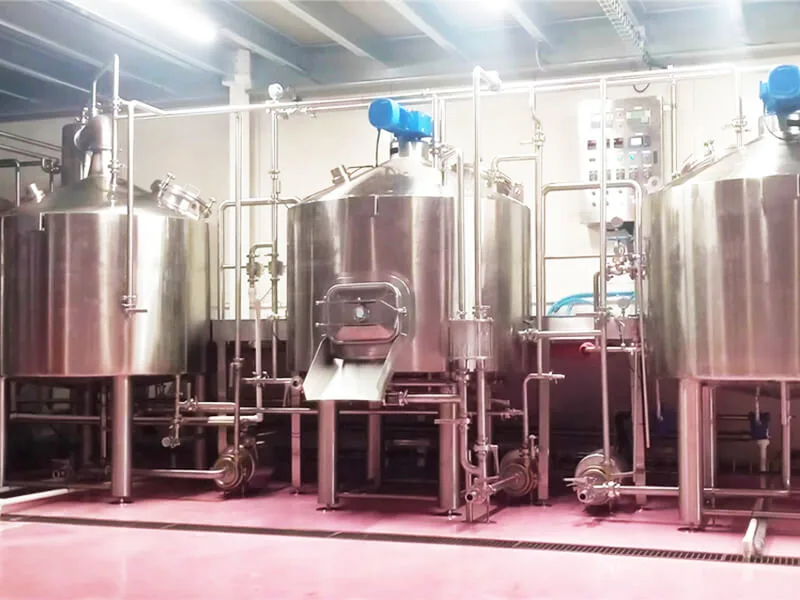
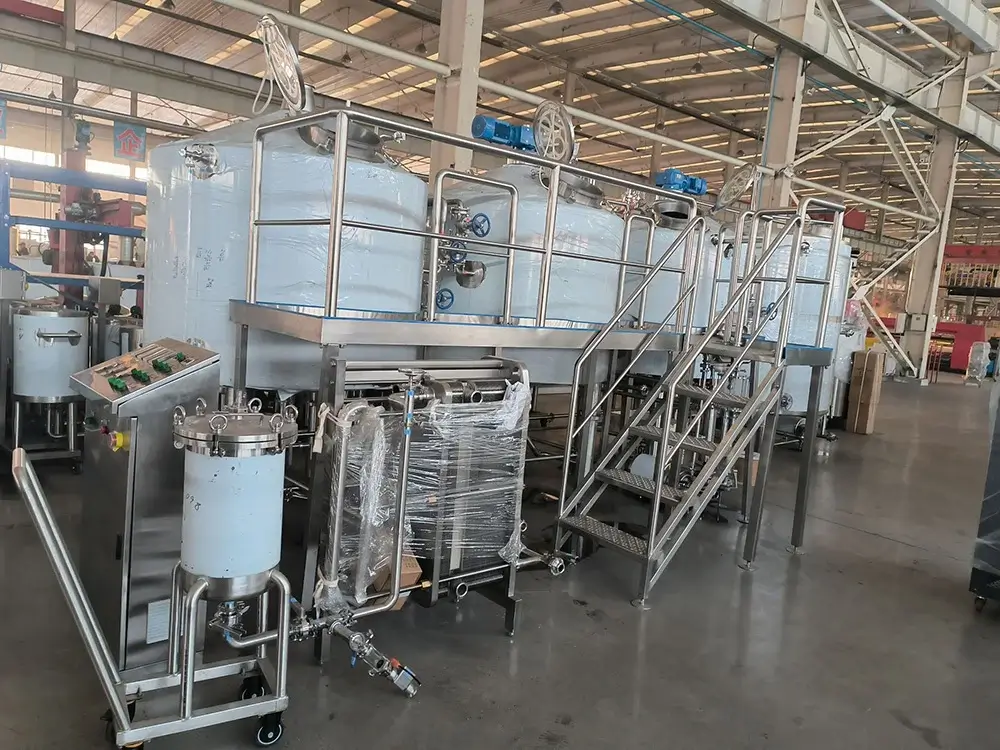
The Lager Brewing Process Explained
The lager brewing process is generally similar to ale brewing, but each stage has its own specific requirements. Here are the standard steps for bottom-fermenting lager brewing:
Mashing
Lagers generally aim for a dry, highly attenuated finish, so a step mash process is often employed.
- Protein Rest (50-55°C / 122-131°F): If using a significant amount of unmalted grains or wheat, a 15-30 minute rest at this temperature helps break down high-molecular-weight proteins, improving body and foam. This step can often be omitted when using well-modified modern malts.
- Beta-Glucanase Rest (35-45°C / 95-113°F): Helps reduce viscosity when using large quantities of rye or oats. This is less common in lager brewing.
- Saccharification Rest (62-72°C / 144-162°F): This is the critical step.
- Low-Temperature Rest (62-65°C / 144-149°F): Produces more fermentable sugars, resulting in a dry body. Ideal for crisp lagers like Pilsners.
- High-Temperature Rest (68-72°C / 154-162°F): Generates more unfermentable dextrins, creating a fuller body and sweeter finish. Suited for Bocks and Munich Dunkels.
- Mash-Out (75-78°C / 167-172°F): Raising the temperature to this range before lautering stops enzyme activity, fixes the sugar profile, and reduces wort viscosity to aid filtration.
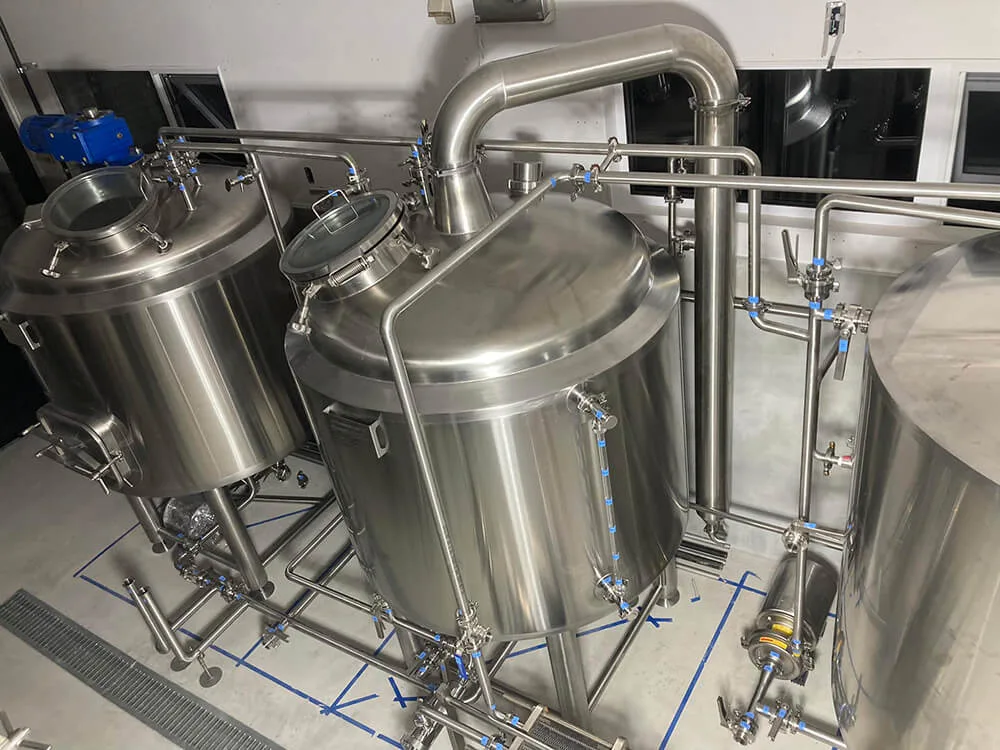
Lautering and Sparging
As with ale brewing, recirculate the wort until it runs clear, then transfer it to the boil kettle. Sparge the grain bed with hot water (75-78°C / 167-172°F) to extract remaining fermentable sugars. Pay attention to sparge water pH, ensuring it remains below 6.0 to avoid excessive tannin extraction, which causes astringency.
Boiling and Hopping
Lagers demand a clean flavor profile, so a vigorous boil is essential (targeting an evaporation rate of 8-12%) to volatilize Dimethyl Sulfide (DMS) precursors. DMS gives beer a cooked corn or cabbage aroma, which is especially offensive in pale lagers and is a critical flaw to avoid.
Hop additions follow the standard bittering-to-aroma sequence. Hop character varies significantly by lager sub-style:
- Pilsner: Emphasizes hop bitterness and floral/herbal aromatics. Large late-boil aroma hop additions are common.
- International Pale Lager: Hop presence is subdued, providing only a balancing bitterness.
- Dark Lagers: Hop additions are more restrained to let the malt character shine.
Cooling and Aeration
Quickly cool the wort to fermentation temperature (typically 7-13°C / 45-55°F). Lager yeast’s starting temperature is far lower than ale yeast, so you must cool the wort adequately before pitching.
After cooling, aerate the wort thoroughly with oxygen. Gas solubility is higher at low temperatures, but yeast metabolism slows down. Adequate oxygen is crucial for ensuring healthy yeast propagation and subsequent normal fermentation.
Fermentation: The Heart of Lager Brewing
This is the biggest differentiator between lagers and ales.
- Pitching Rate: Low-temperature lager fermentation requires a significantly higher yeast pitching rate compared to ales. A recommended rate is 1.5 to 2.0 million cells per milliliter per degree Plato (ales typically require 0.75 to 1.0 million). In practical terms, a 20-liter batch of 12°P wort needs roughly 4000-5000 billion yeast cells. Purchasing multiple liquid yeast packs or preparing a large-volume yeast starter is key to success.
- Fermentation Temperature: Depending on the yeast strain, primary fermentation temperature usually ranges from 8-13°C (46-55°F). The traditional method is to pitch at 7-8°C (45-46°F) and let the temperature rise naturally to around 10°C (50°F) for the main fermentation. Excessively high temperatures generate too many esters, destroying lager’s clean character.
- Diacetyl Rest: As primary fermentation approaches its end (when the apparent attenuation is about 2-5°P from terminal gravity), let the beer temperature rise naturally or actively warm it to 18-20°C (64-68°F) for 2-3 days. This activates the yeast, prompting it to reabsorb and reduce the diacetyl (a prominent butter or butterscotch flavor) produced earlier in the fermentation. This step is absolutely critical for lagers and is the key to avoiding this off-flavor.
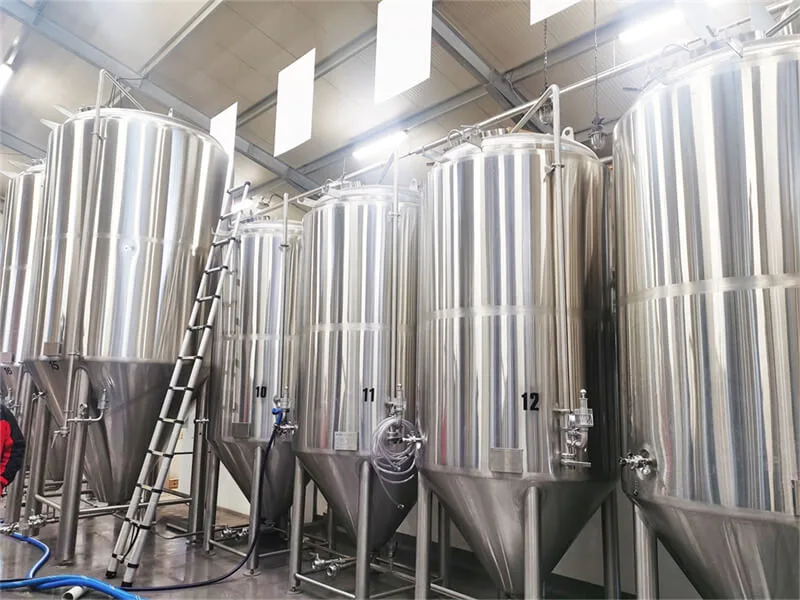
Lagering (Conditioning)
After the diacetyl rest is complete, cool the beer, remove the yeast, and transfer the beer to a conditioning vessel. Store it at near-freezing temperatures (0-4°C / 32-39°F) for weeks to months. This process is “lagering.” During this time, suspended yeast, protein-polyphenol complexes, and other chill haze particulates slowly settle out. The body clarifies beautifully, and flavors meld and round out, eliminating any “green beer” character.
Clarification and Carbonation
After sufficient lagering time, the beer will be naturally clear. Additional clarity can be achieved by racking or using fining agents like gelatin or isinglass. Carbonation can be achieved by forced carbonation in a keg or by priming with sugar for bottle conditioning. Lager carbonation levels are generally on the higher side (2.5-2.7 volumes) to enhance crispness.
Key Techniques for Brewing Great Lager
Once you grasp the fundamental process, these tips will elevate your lager from good to outstanding:
- Water Chemistry is the Soul: Soft water suits brewing pale, hop-forward lagers (like Pilsner). Water with moderate hardness better highlights the malt character of dark lagers. Obtain your local water quality report and adjust by diluting with distilled or reverse osmosis water and making targeted mineral additions as needed.
- Yeast is Everything, Quantity is Crucial: Never underestimate the impact of cold temperatures on yeast activity. Pitching a single liquid yeast pack is almost a guaranteed path to trouble. Always use a yeast calculator based on your wort volume and gravity, and create the corresponding yeast starter. Ensure your yeast is healthy and highly active.
- Temperature Control is the Foundation: You need an environment capable of holding a steady 8-13°C (46-55°F) for fermentation, later rising to 18-20°C (64-68°F) for the diacetyl rest, and finally chilling down to 0-4°C (32-39°F) for lagering. A dedicated refrigerator or freezer with a digital temperature controller is the best investment a lager brewer can make.
- Patience is the Most Important Ingredient: You cannot rush a lager. Sufficient fermentation time, a complete diacetyl rest, and an extended lagering period are the shared secret of all excellent lagers. Taste a hint of green apple, sulfur, or is it still hazy? Chances are, it just needs more time.
- Obsessively Guard Against Oxidation: During the cold conditioning phase, beer readily absorbs oxygen. During transfers, kegging, or bottling, purge all vessels with carbon dioxide and minimize the liquid’s contact with air. Otherwise, your crisp, clean lager will quickly develop a dreaded wet cardboard off-flavor.
- Start with an “Easier” Classic: If you’re new to lagers, Munich Dunkel or Vienna Lager are friendlier starting points. Their richer, darker malt profiles offer a bit more “cover,” providing slightly more tolerance for minor process flaws than an ultra-pale, completely exposed Pilsner.
Frequently Asked Questions
Under What Pressure Should Beer Ferment?
“Pressure” here typically refers to pressurized fermentation, an advanced technique particularly applicable to lagers.
Standard lager fermentation is generally carried out at atmospheric pressure (the fermenter has an airlock, allowing free gas escape). For most homebrewers, this is the correct method and what you should practice.
Pressurized fermentation uses an adjustable pressure relief valve (spunding valve) to hold the fermenter’s internal pressure at a set level. Its effects include:
- Suppresses Ester Formation: Pressure inhibits the production of fruity esters by the yeast, resulting in a cleaner fermentation profile. This is highly desirable for a lager.
- Natural Pre-Carbonation: At the end of fermentation, the beer already contains a high level of dissolved carbon dioxide, reducing post-fermentation carbonation effort.
- Enables Fermentation at Slightly Higher Temperatures: Pressure can “mimic” some suppressive effects of low temperatures on yeast. This means you can ferment at temperatures a few degrees above the traditional 8-13°C range (e.g., 15-18°C / 59-64°F) while still retaining a clean lager character, drastically simplifying temperature control.
Common Pressure Settings:
If using a dedicated pressure-rated fermenter, a spunding valve is often set to 0.7-1.0 bar (10-15 PSI).
Safety First: Common glass carboys and most plastic buckets used in homebrewing are absolutely not pressure-rated and must never be used for pressurized fermentation. Always use a fermenter, typically stainless steel or specially designed PET plastic, that is explicitly rated for pressure and features a reliable, integrated or retrofitted pressure relief valve.
Conclusion: If you are a beginner, ignore pressurized fermentation for now and start directly with controlled-temperature atmospheric fermentation. Later, if you want to explore even cleaner profiles or simplify your cooling setup, invest in the dedicated equipment needed.
What Should the Room Temperature Be for My Brewing Space?
We must distinguish between the ambient air temperature of the room and the actual temperature of the fermenting beer. We always aim to control the beer temperature, but fermentation generates heat (it’s exothermic), meaning the beer’s temperature will be higher than ambient.
For lager brewing, target ambient temperatures (or the temperature setting inside your fermentation chamber) should aim for the following:
| Fermentation Stage | Target Liquid Temperature | Typical Ambient Temperature Setting Required |
|---|---|---|
| 一次発酵 | 8-13°C (46-55°F) | Approx. 6-11°C (43-52°F) |
| Diacetyl Rest | 18-20°C (64-68°F) | Approx. 16-19°C (61-66°F) |
| Lagering | 0-4°C (32-39°F) | Approx. -1 to 3°C (30-37°F) (ensure liquid doesn’t freeze) |
Best Practice: Tape the temperature probe from your controller securely to the side of the fermenter’s wall, covering it with some insulating material (like foam or bubble wrap). This way, the controller reads a temperature very close to the center of the liquid and controls your cooling/heating equipment based on that. You then set your controller for your desired fermentation temperature, eliminating guesswork about the temperature offset.
The Reward is Worth the Effort
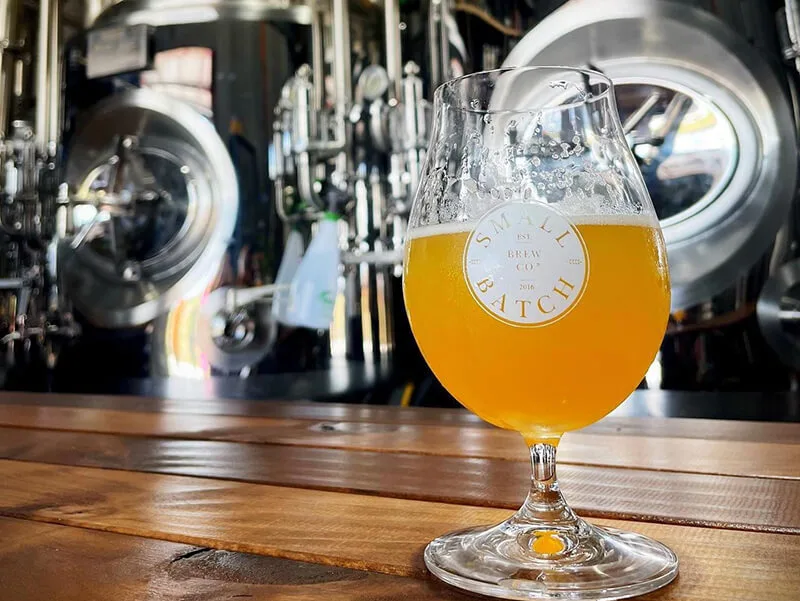
Brewing an outstanding lager is a comprehensive test of a homebrewer’s skill. It tests your temperature control, your care for yeast, and your deep reserves of patience. But when you pour that brilliantly clear, straw-golden beer, crowned with a dense, white head, and taste its crisp, clean, perfectly balanced profile, all the waiting will have been worthwhile.
Start by selecting the right yeast, calculating the correct pitch rate, and nailing your temperature control, then proceed step-by-step. Remember, a lager will honestly reflect the care you put in. Now, go prepare your spare fridge and yeast starter flask—the world of lager brewing awaits your mastery.